Reading Crochet Patterns
You have picked up your yarn and hook and are ready to start your first project - yay! Now you need to read your pattern, but how do you do that? I will break down the easiest ways to understand patterns so that you can create your project with minimal mishaps. Below I have added a free pattern for you to follow to practice reading patterns! So keep reading to create your first crochet project!
First what kind of pattern is it? Is it written or drawn? Majority of big projects like blankets and amigurumi are written while granny squares can be drawn. I wont be touching on drawn patterns today because those are hard for me to read too - it just looks like a bunch of lines to me, lol. So lets jump in!
Click the photo above to learn how to read drawn crochet patterns. That post by Smart Knit Crocheting is very helpful!
First identify whether it is written in US terms or UK terms - check out my previous post here for clarification on the difference between the two. Most patterns hopefully have specified in their legends which they use. The legends will also outline the abbreviations for the stitches you will be using. For example;
This pattern is made in UK terms
Chain - ch
Double crochet - dc
Half treble - htr
As you can see this pattern is written in UK terms. You will need to know a chain stitch, UK double crochet and half treble crochet. Some patterns will give you the UK to US conversions as well for your convenience.
Next, patterns will specify what yarn and hook you will need, along with any other supplies like safety eyes, stitch markers etc.. Now, there are some patterns where the yarn you use should follow the pattern exactly because of the size of the project. For example I followed this pattern by Nicole chase, but I used a chunky yarn with a size 8 hook and while her measurements said tanner the triceratops would be 8.5” tall sitting, mine is about 15” tall sitting - now I’m not complaining I love it, but if it were a blanket and you used a bigger yarn your blanket will be huge! Of course you can do that if that is what you are going for but if you want to get the exact product of the pattern follow the gauge and your finished product will be awesome!
So for this pattern you are going to need a 4mm hook and a medium weight yarn like this from Sirdar (no affiliation). This yarn is great and versatile And comes in over 100 different colours.
So now you have your yarn, hook, identified the terms of the pattern and you are ready to being! Patterns are laid out in rows or rounds - this pattern is rows - you pattern will read like this :
R1: ch 42
R2: htr in the second chain from the hook, htr 39 st. (40st) ch 2 doesn’t count as a st.
^ this row says to double crochet in the second chain from hook, the half treble crochet 39 stitches giving you 40 stitches. It also says that the chain two - the two stitches you skipped over do not count as stitches, some patterns they will count as stitches but in some cases they don’t (this will make more sense at the end)
The pattern will keep repeating this structure and giving you stitch counts at the end of every row. So you can be sure you are on the right track!
Some patterns, like this one, will have repeating rows. When this is the case the pattern will read like this -
R3-26: ch 2, turn your work, htr 40 (40st)
Which means you repeat this pattern until you have 26 rows.
You can continue to follow the patterns in this manner! It seems daunting at first and like a whole bunch of letters and numbers on a page but once you understand how to decipher them you will be sailing along!
Pattern
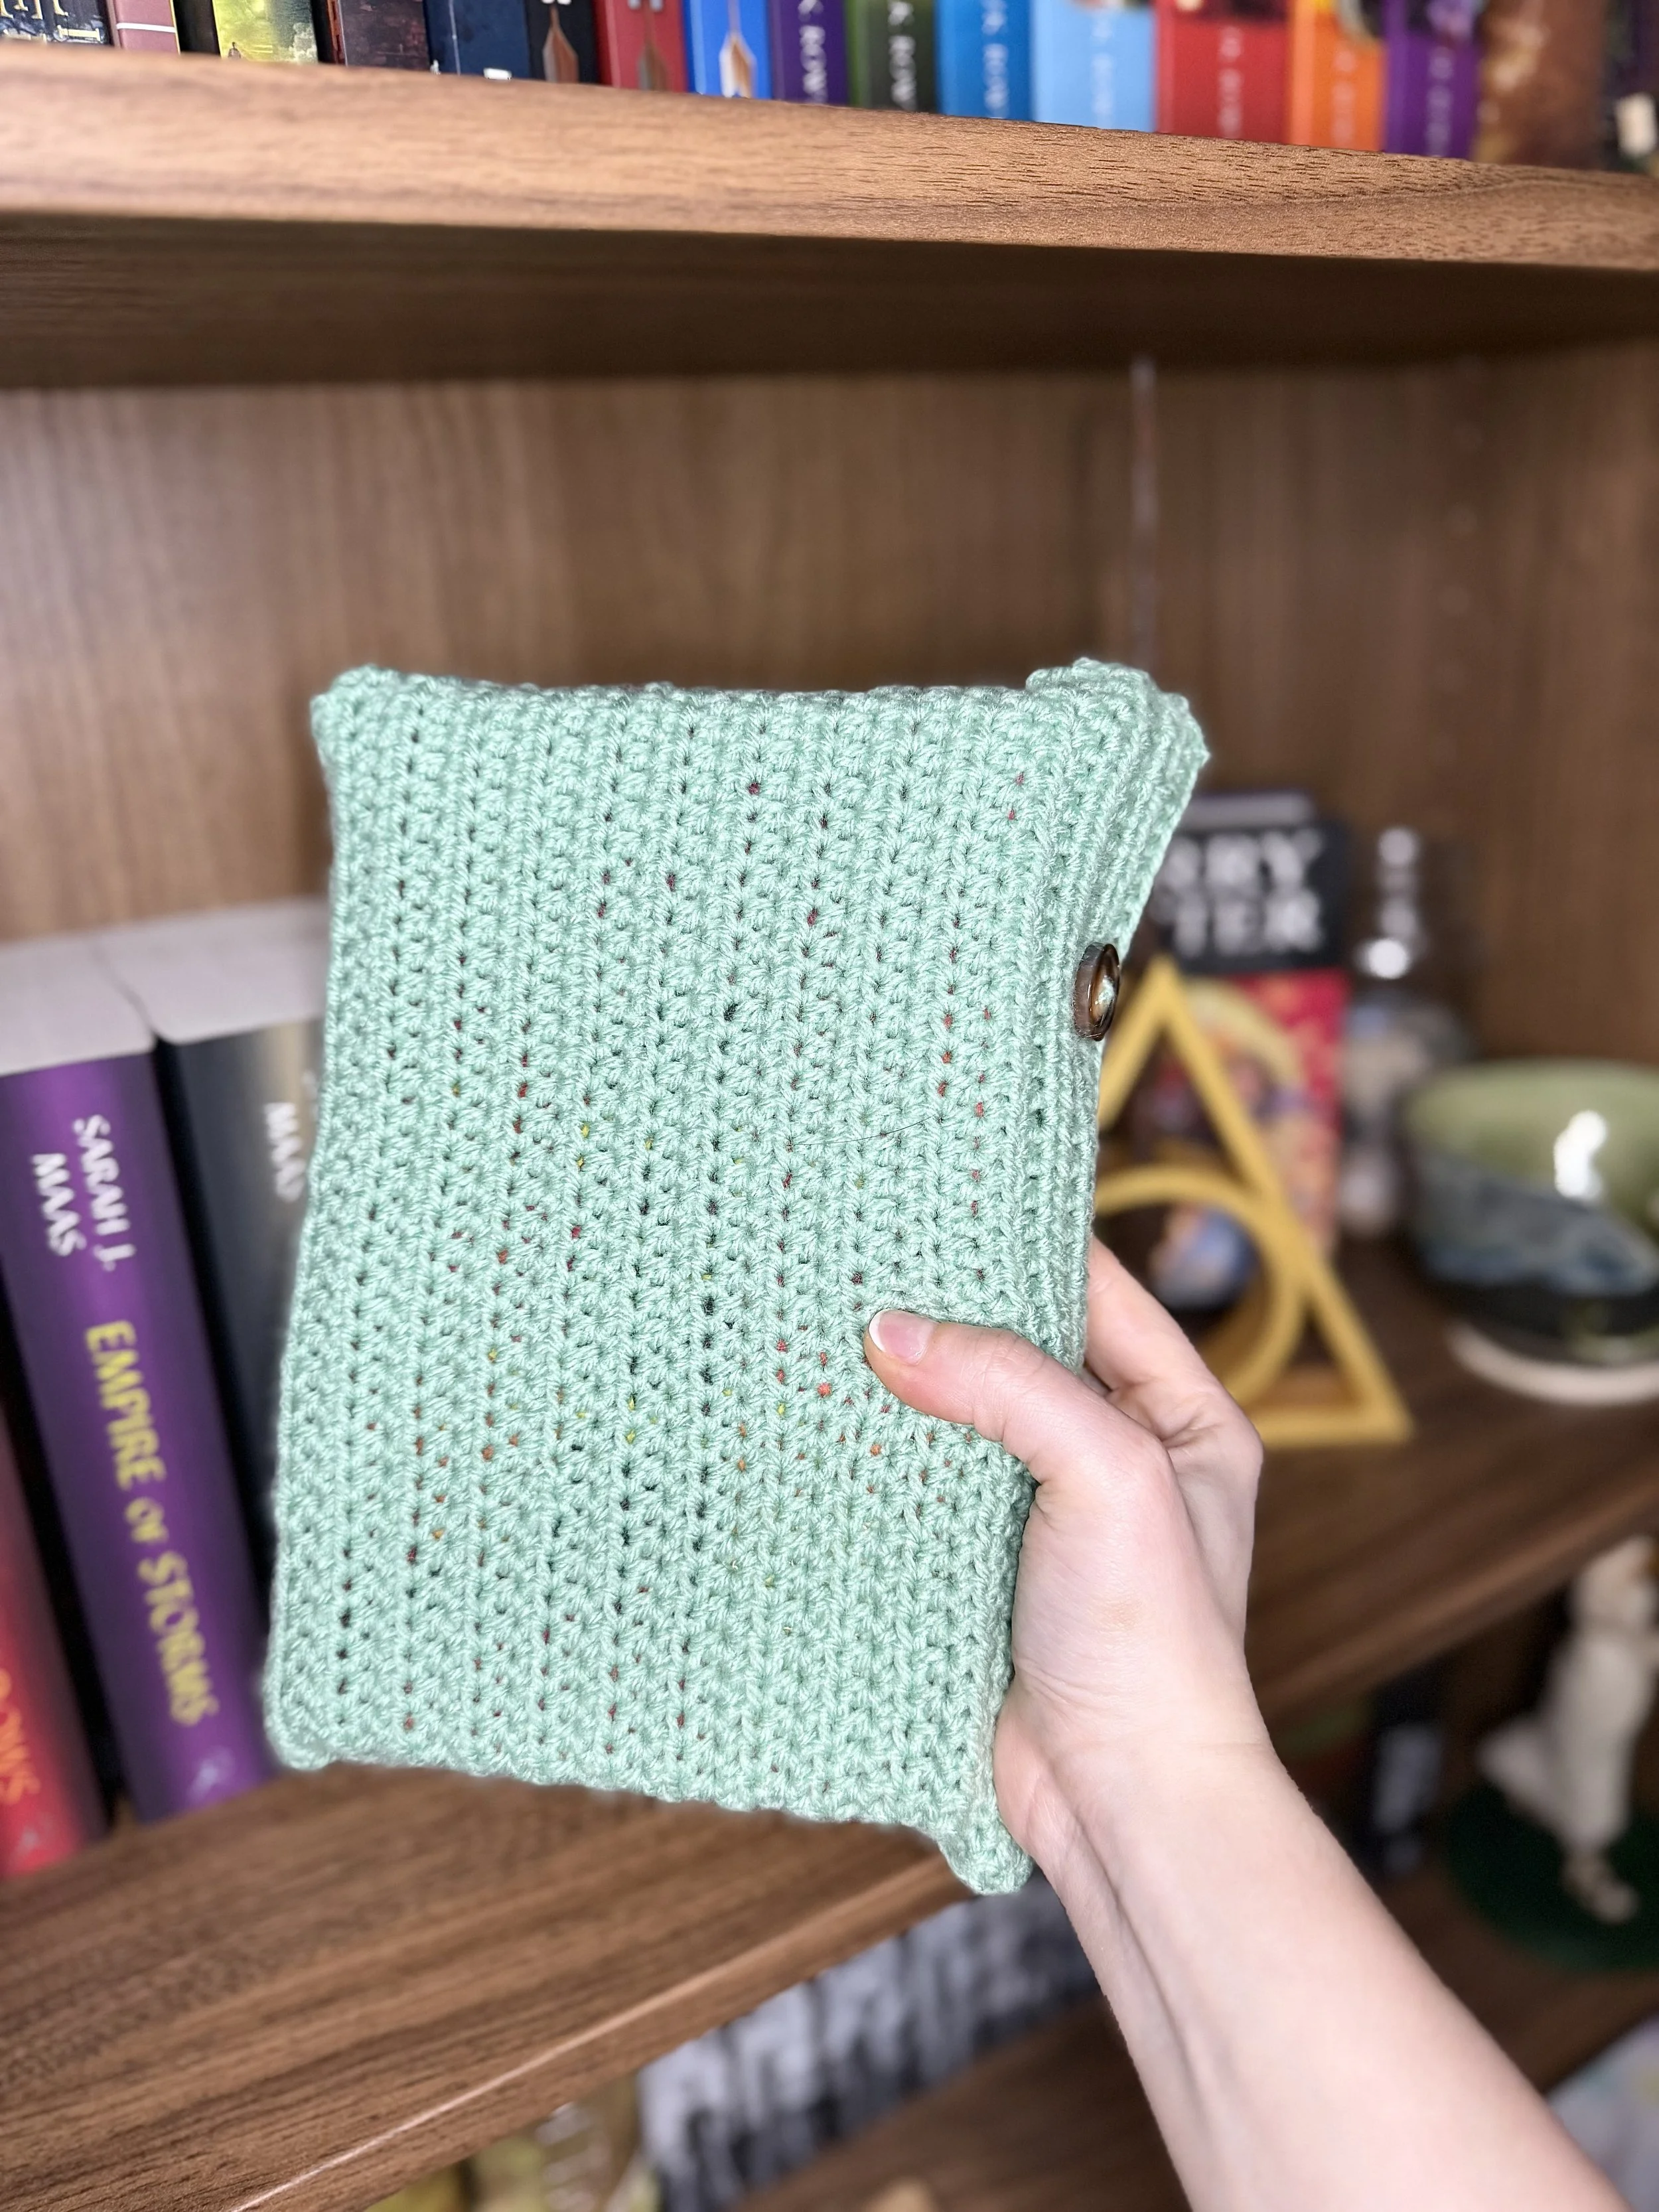
You can follow this pattern below to make your own Book cover! I hope you enjoy it! If you make it share your Creations with me on instagram!
Supplies
Medium weight yarn 1 skein, 4mm hook, darning needle, 2 buttons, 2 stitch markers, and scissors
Stitch abbreviations (UK terms)
St - stitch
Ch - chain
Htr - half treble
Pst - puff stitch (see notes below)
Notes
At the end of each row you will be chaining 2 and turning your work these chain 2s will NOT count as stitches.
To execute a puff stitch you will yarn over and insert your hook into the stitch, yarn over and pull up a loop, yarn over insert your hook back into the same stitch and yarn over and pull up a loop, repeating this 3 more times (5 times in total) then yarn over and pull through all loops on your hook. See below.
Pattern
R1: ch 42
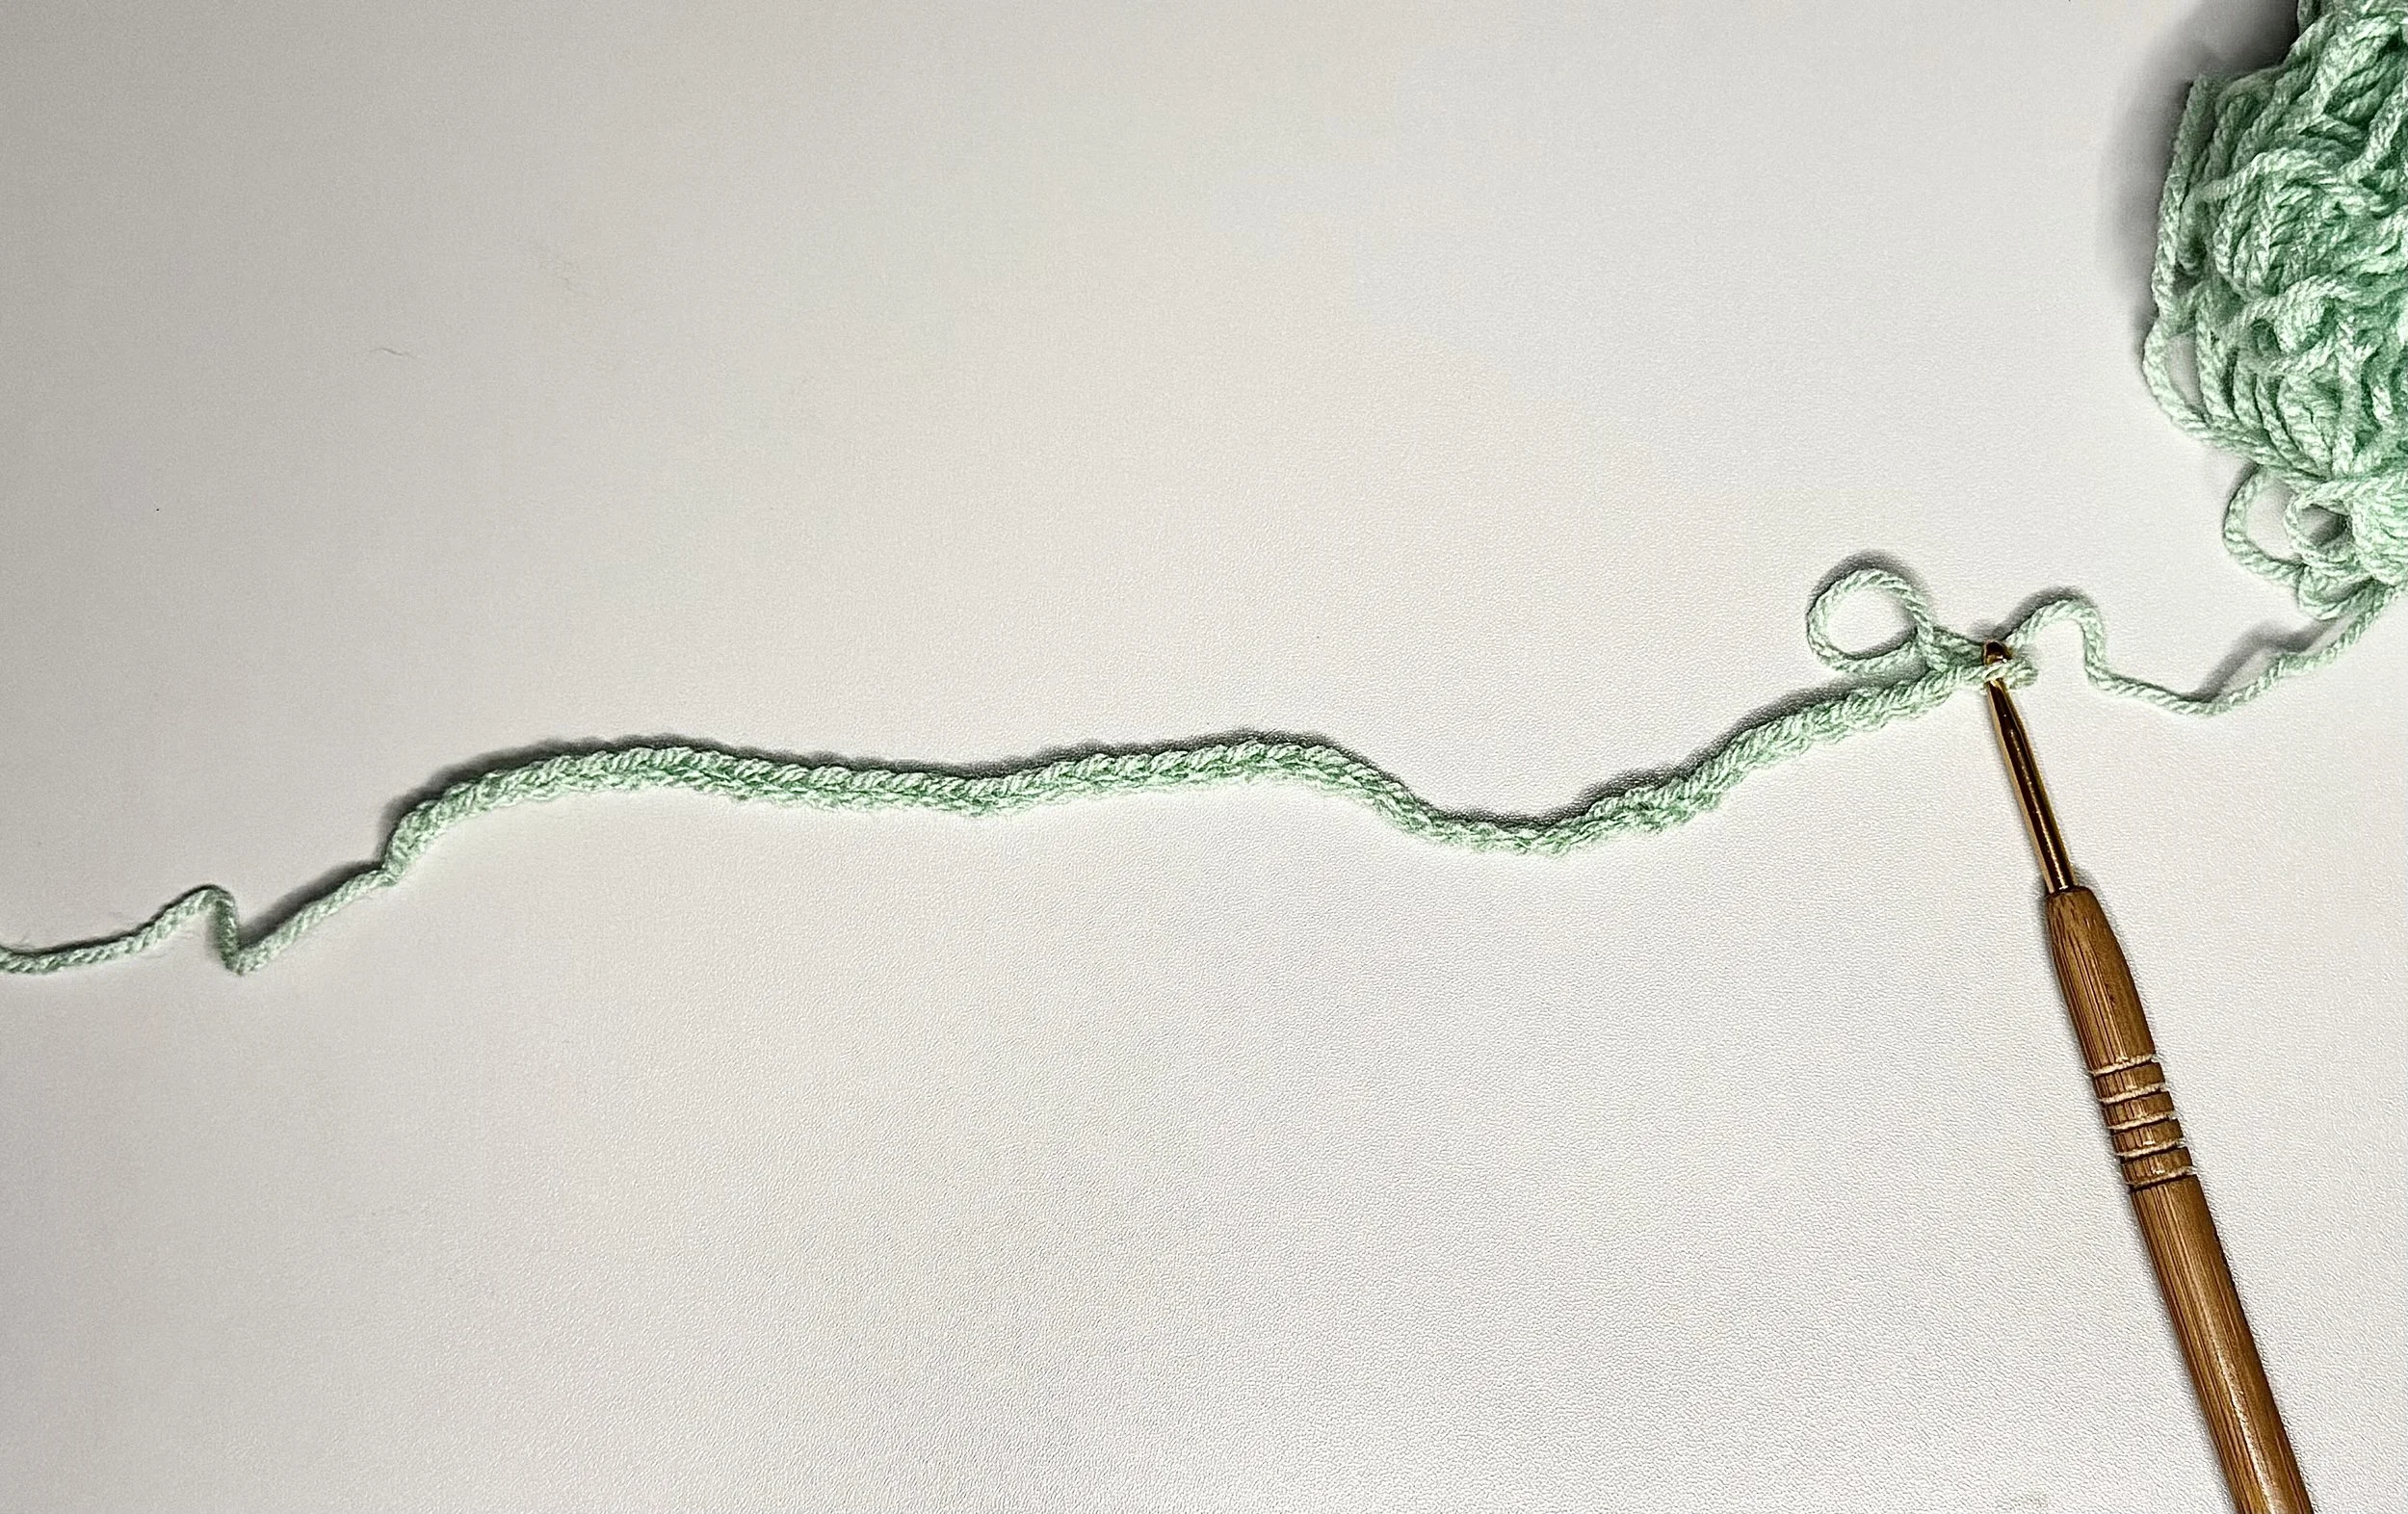
Chain 42
R2: in second chain from hook, htr, htr in the next 39 st (40st)
R3-26: ch 2, turn your work, htr 40 (40st)
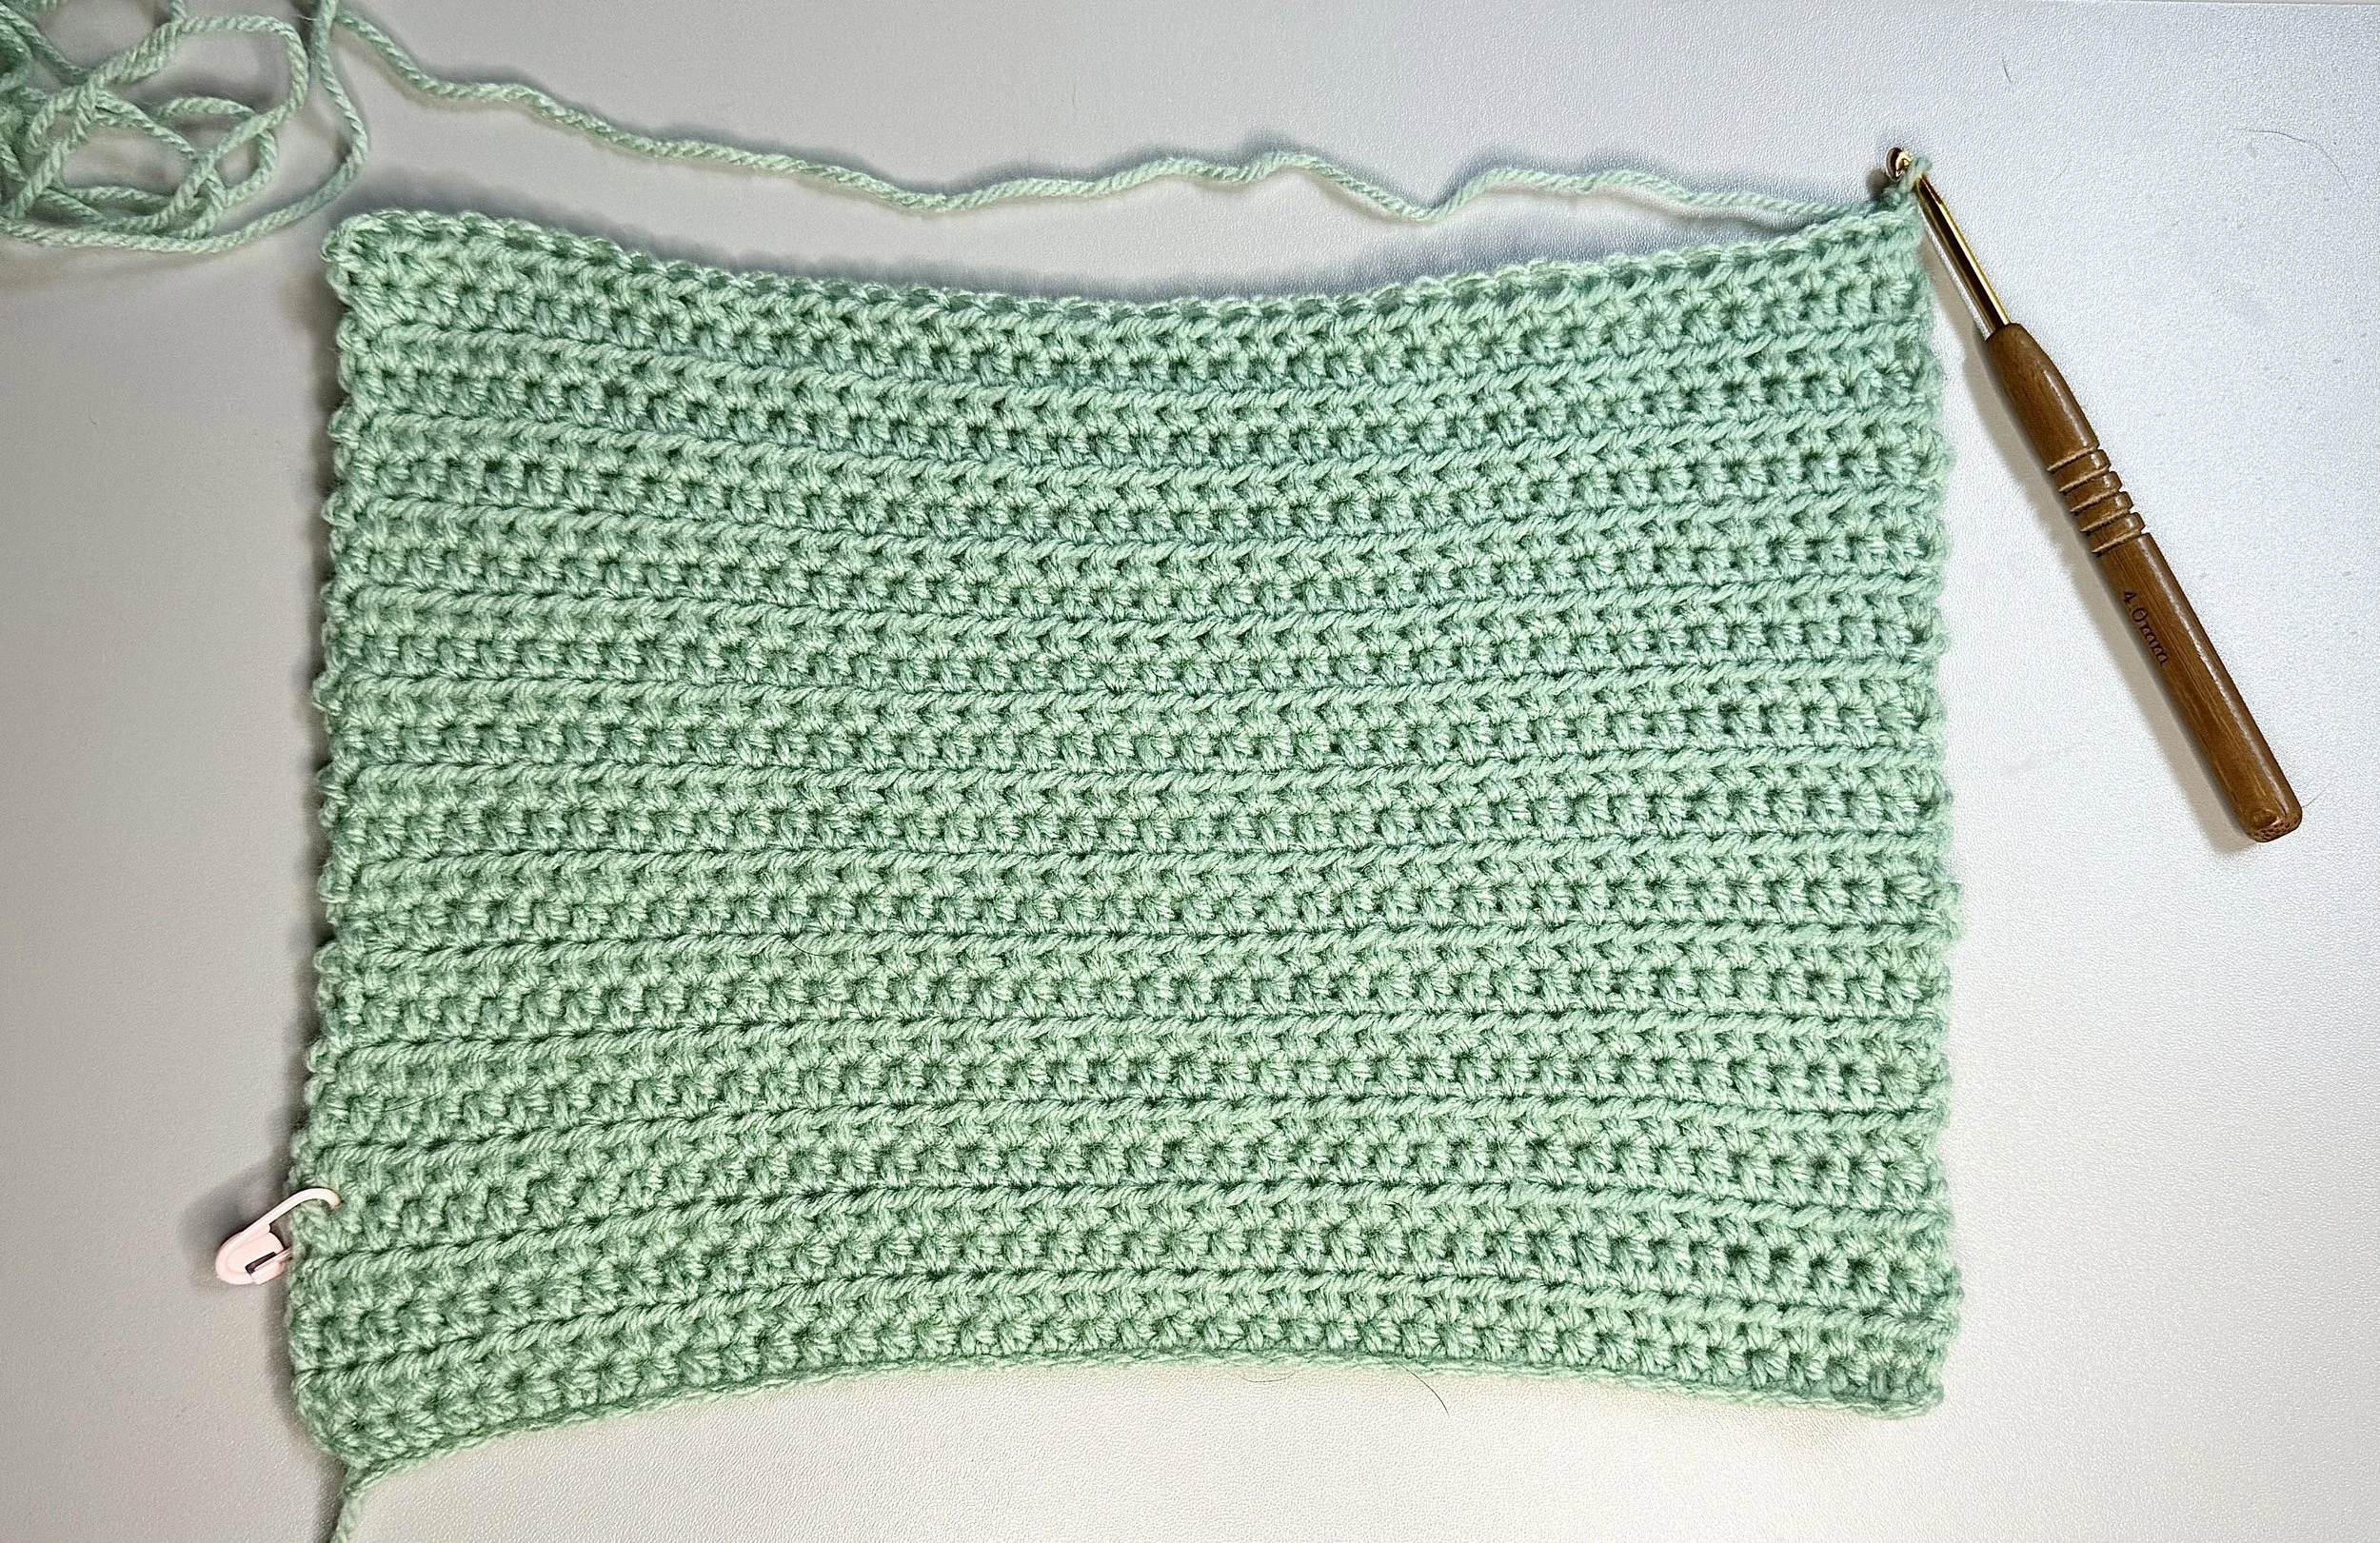
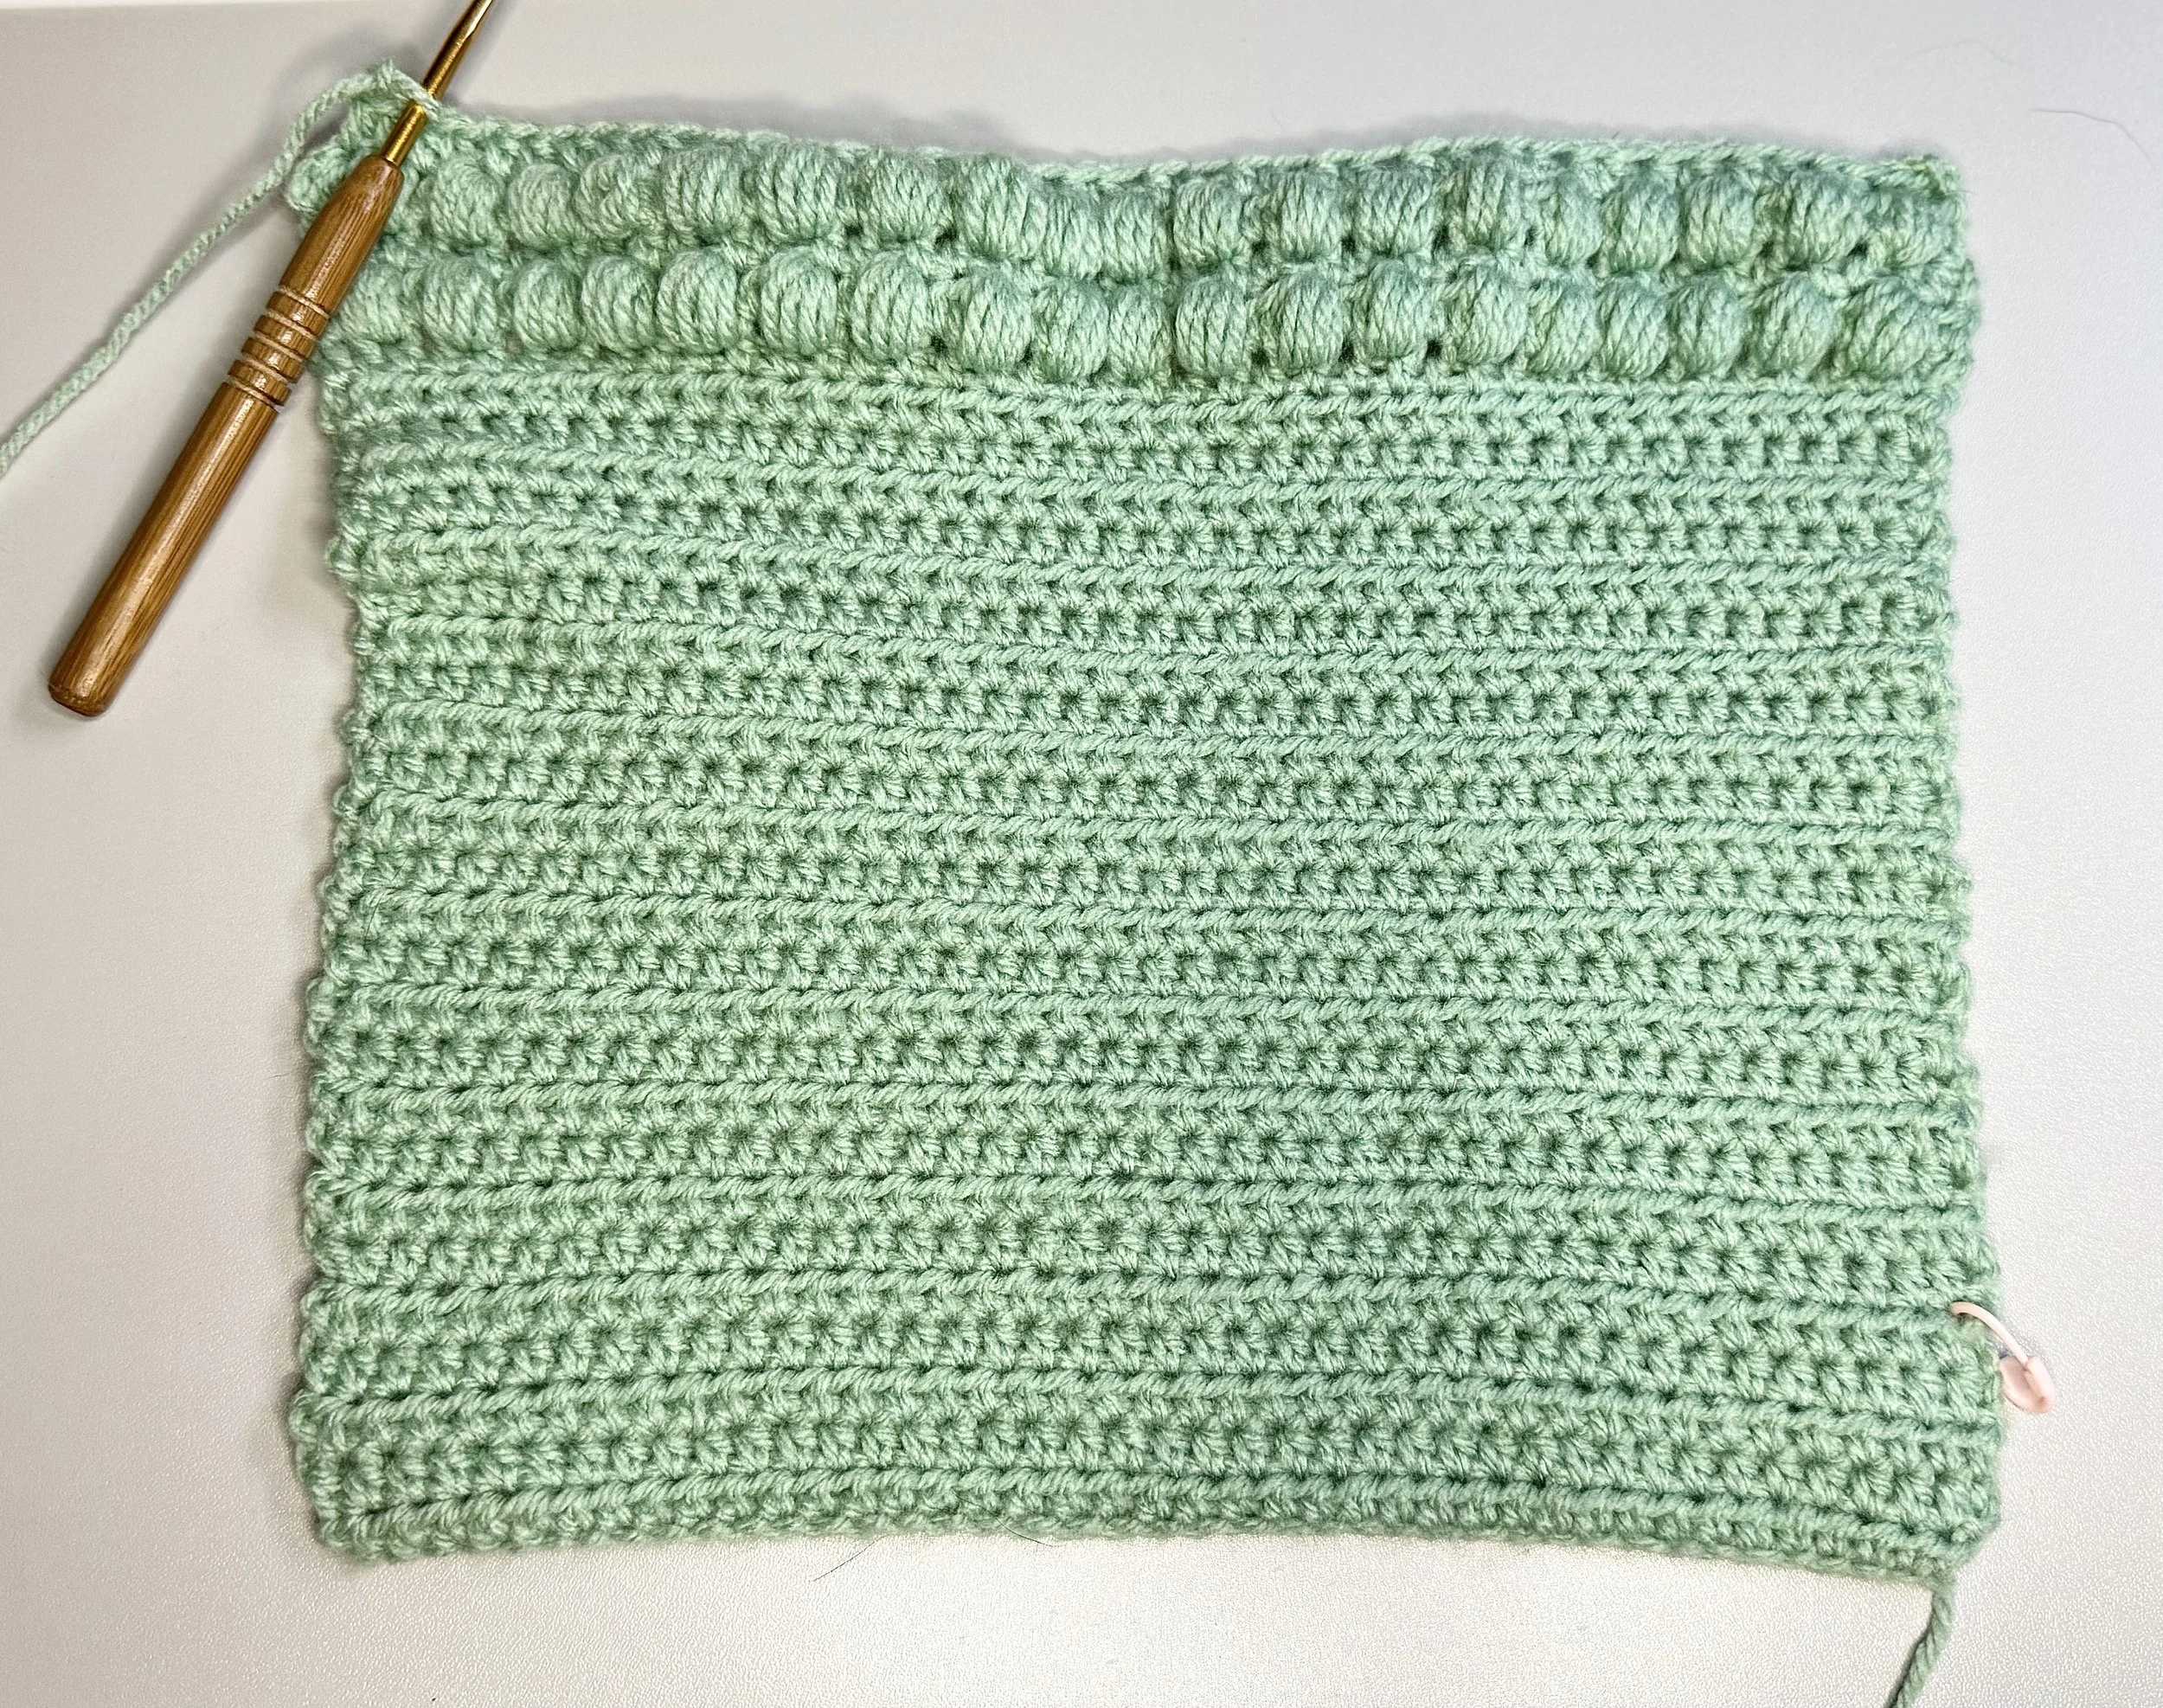
After row 26 this is what it will start looking like.
R27: ch2 turn your work, *htr into the first st, pst in the next* repeat star to star till the end of the row (40st)
R28 : ch 2, turn your work, htr 40 (40st)
R29: ch2 turn your work, *htr into the first st, pst in the next* repeat star to star till the end of the row (40st)
After row 29 this is how your project should look
R30-43: ch 2 , turn your work, htr 40 (40st)
R44: ch 2, turn your work, htr 10, ch 2, skip the next 2 st, htr 16, ch 2, htr 10 (36st, 4 ch st)
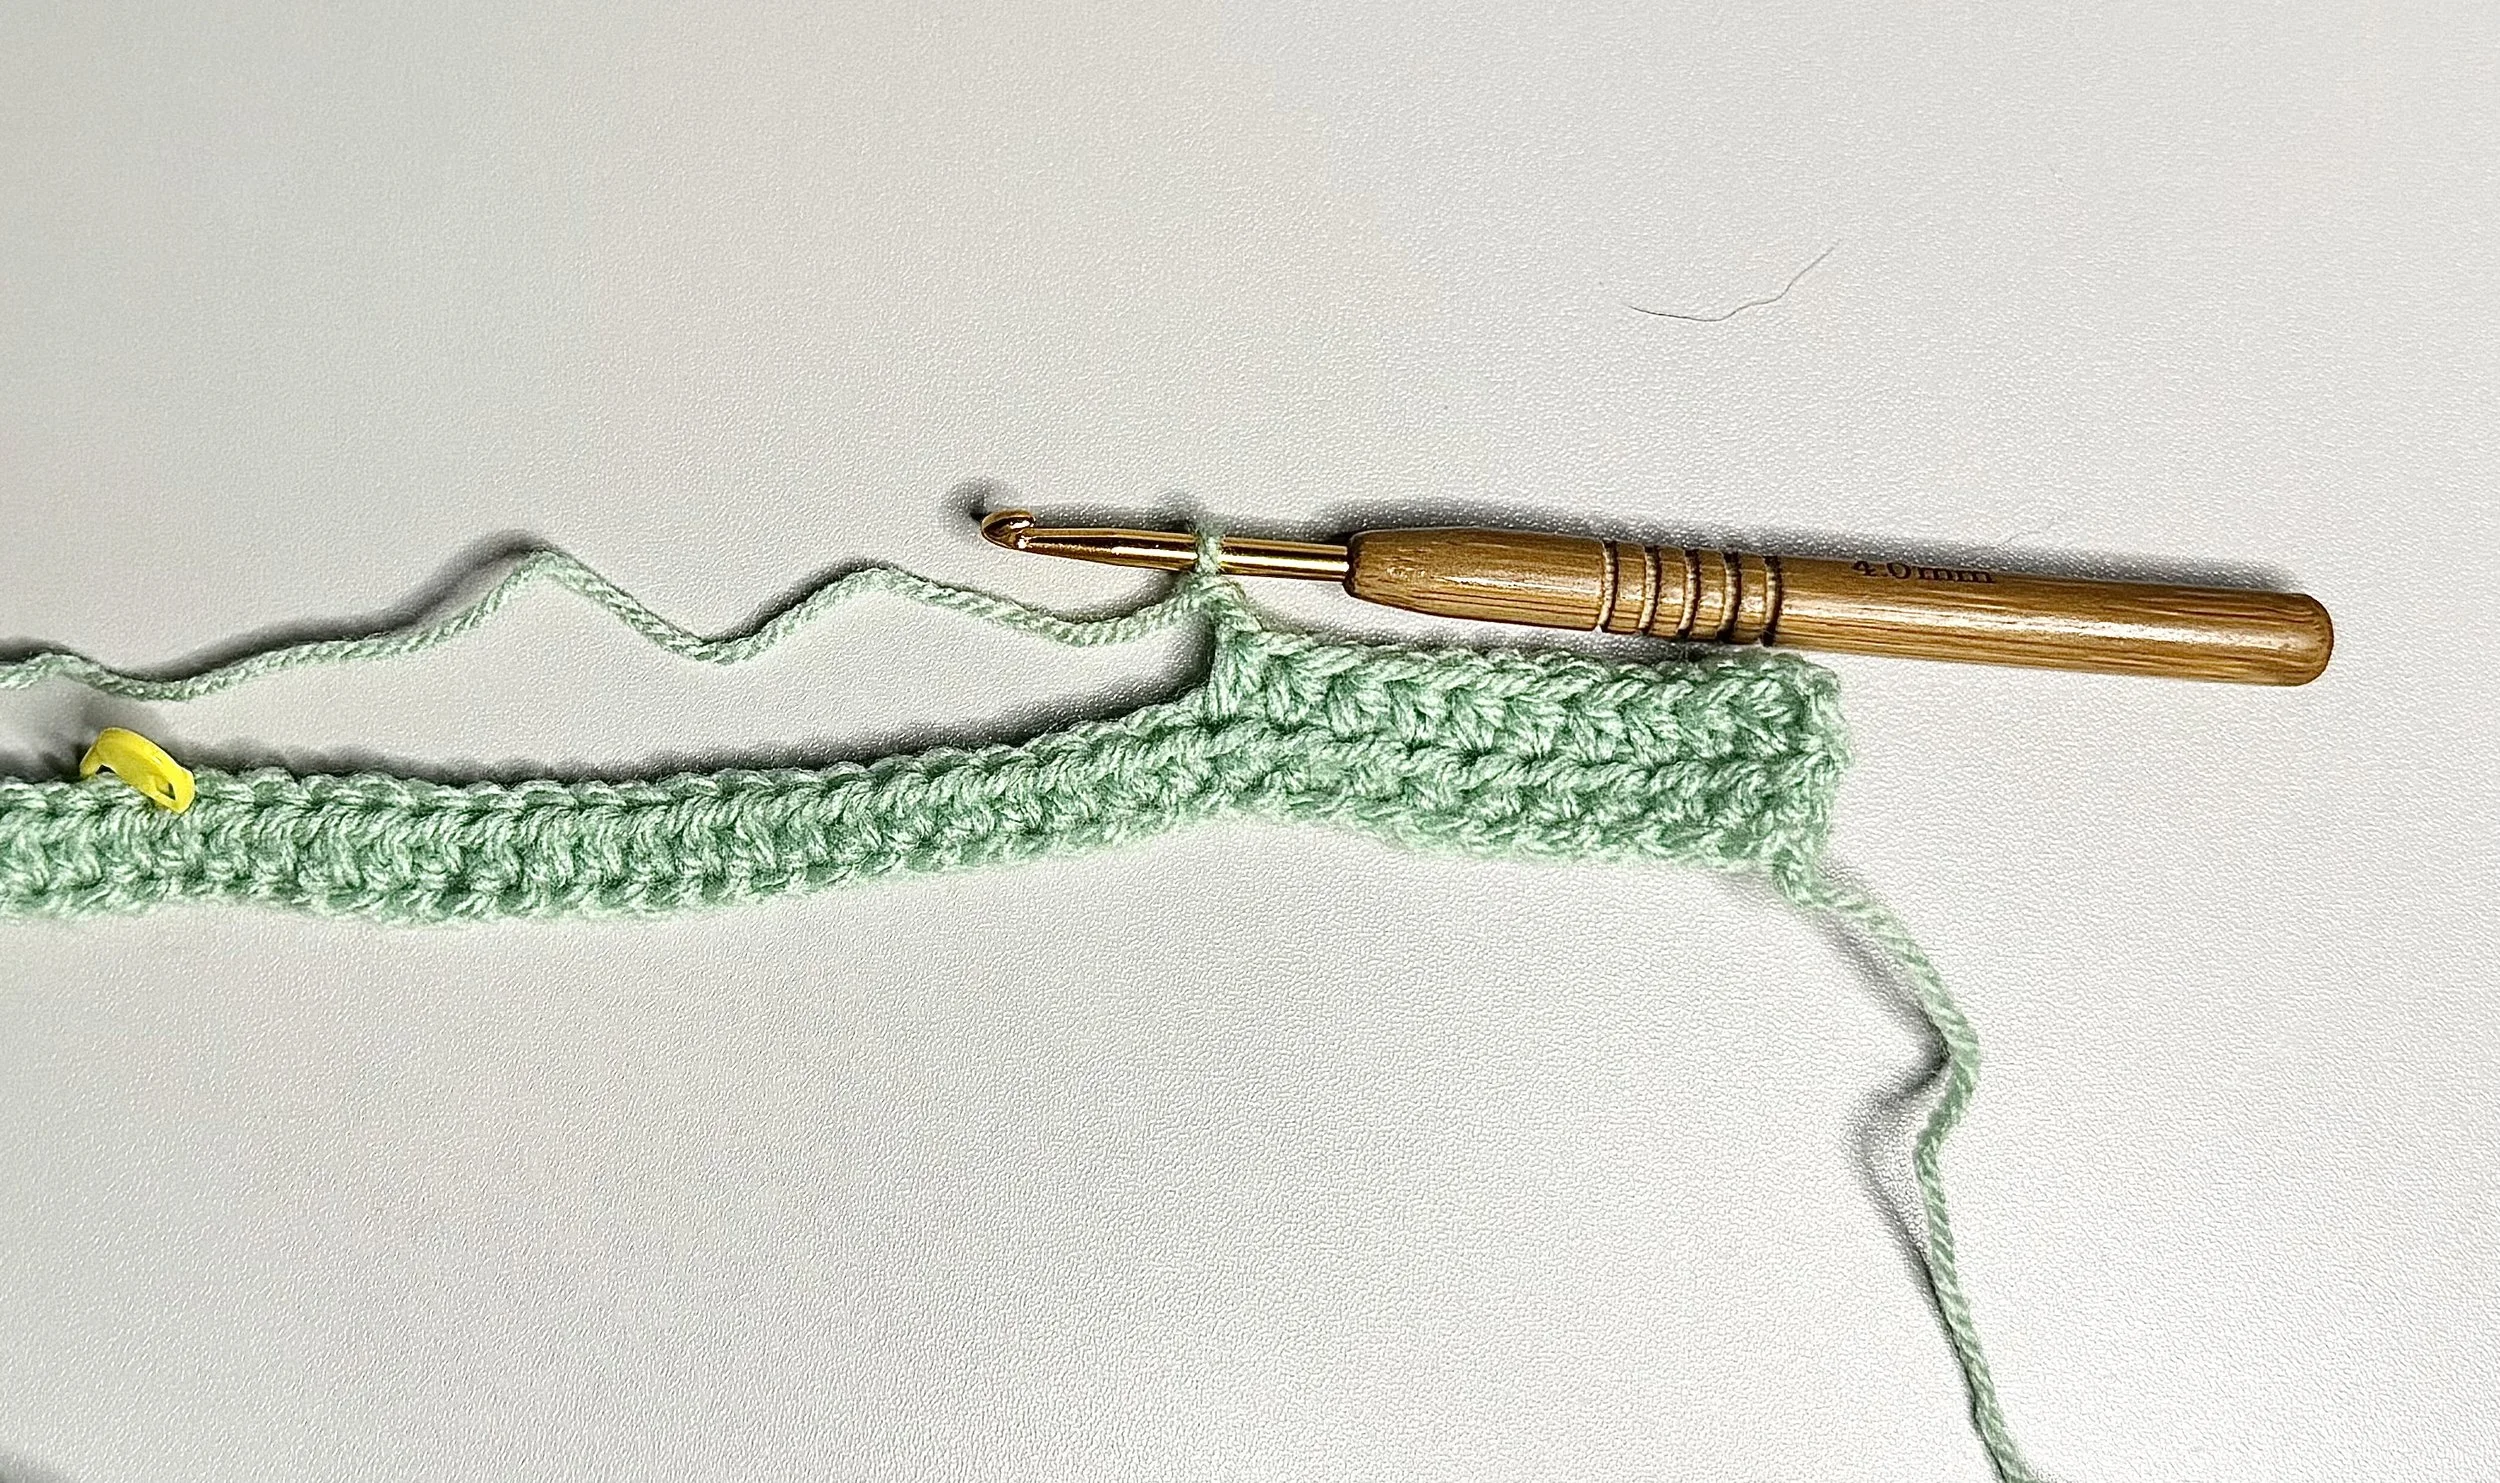
To see it better I made a swatch to show row 44
R45: ch 2, turn your work, htr 10, htr 2 in the chain space, htr 16, htr 2 in the chain space, htr 10 (40st)
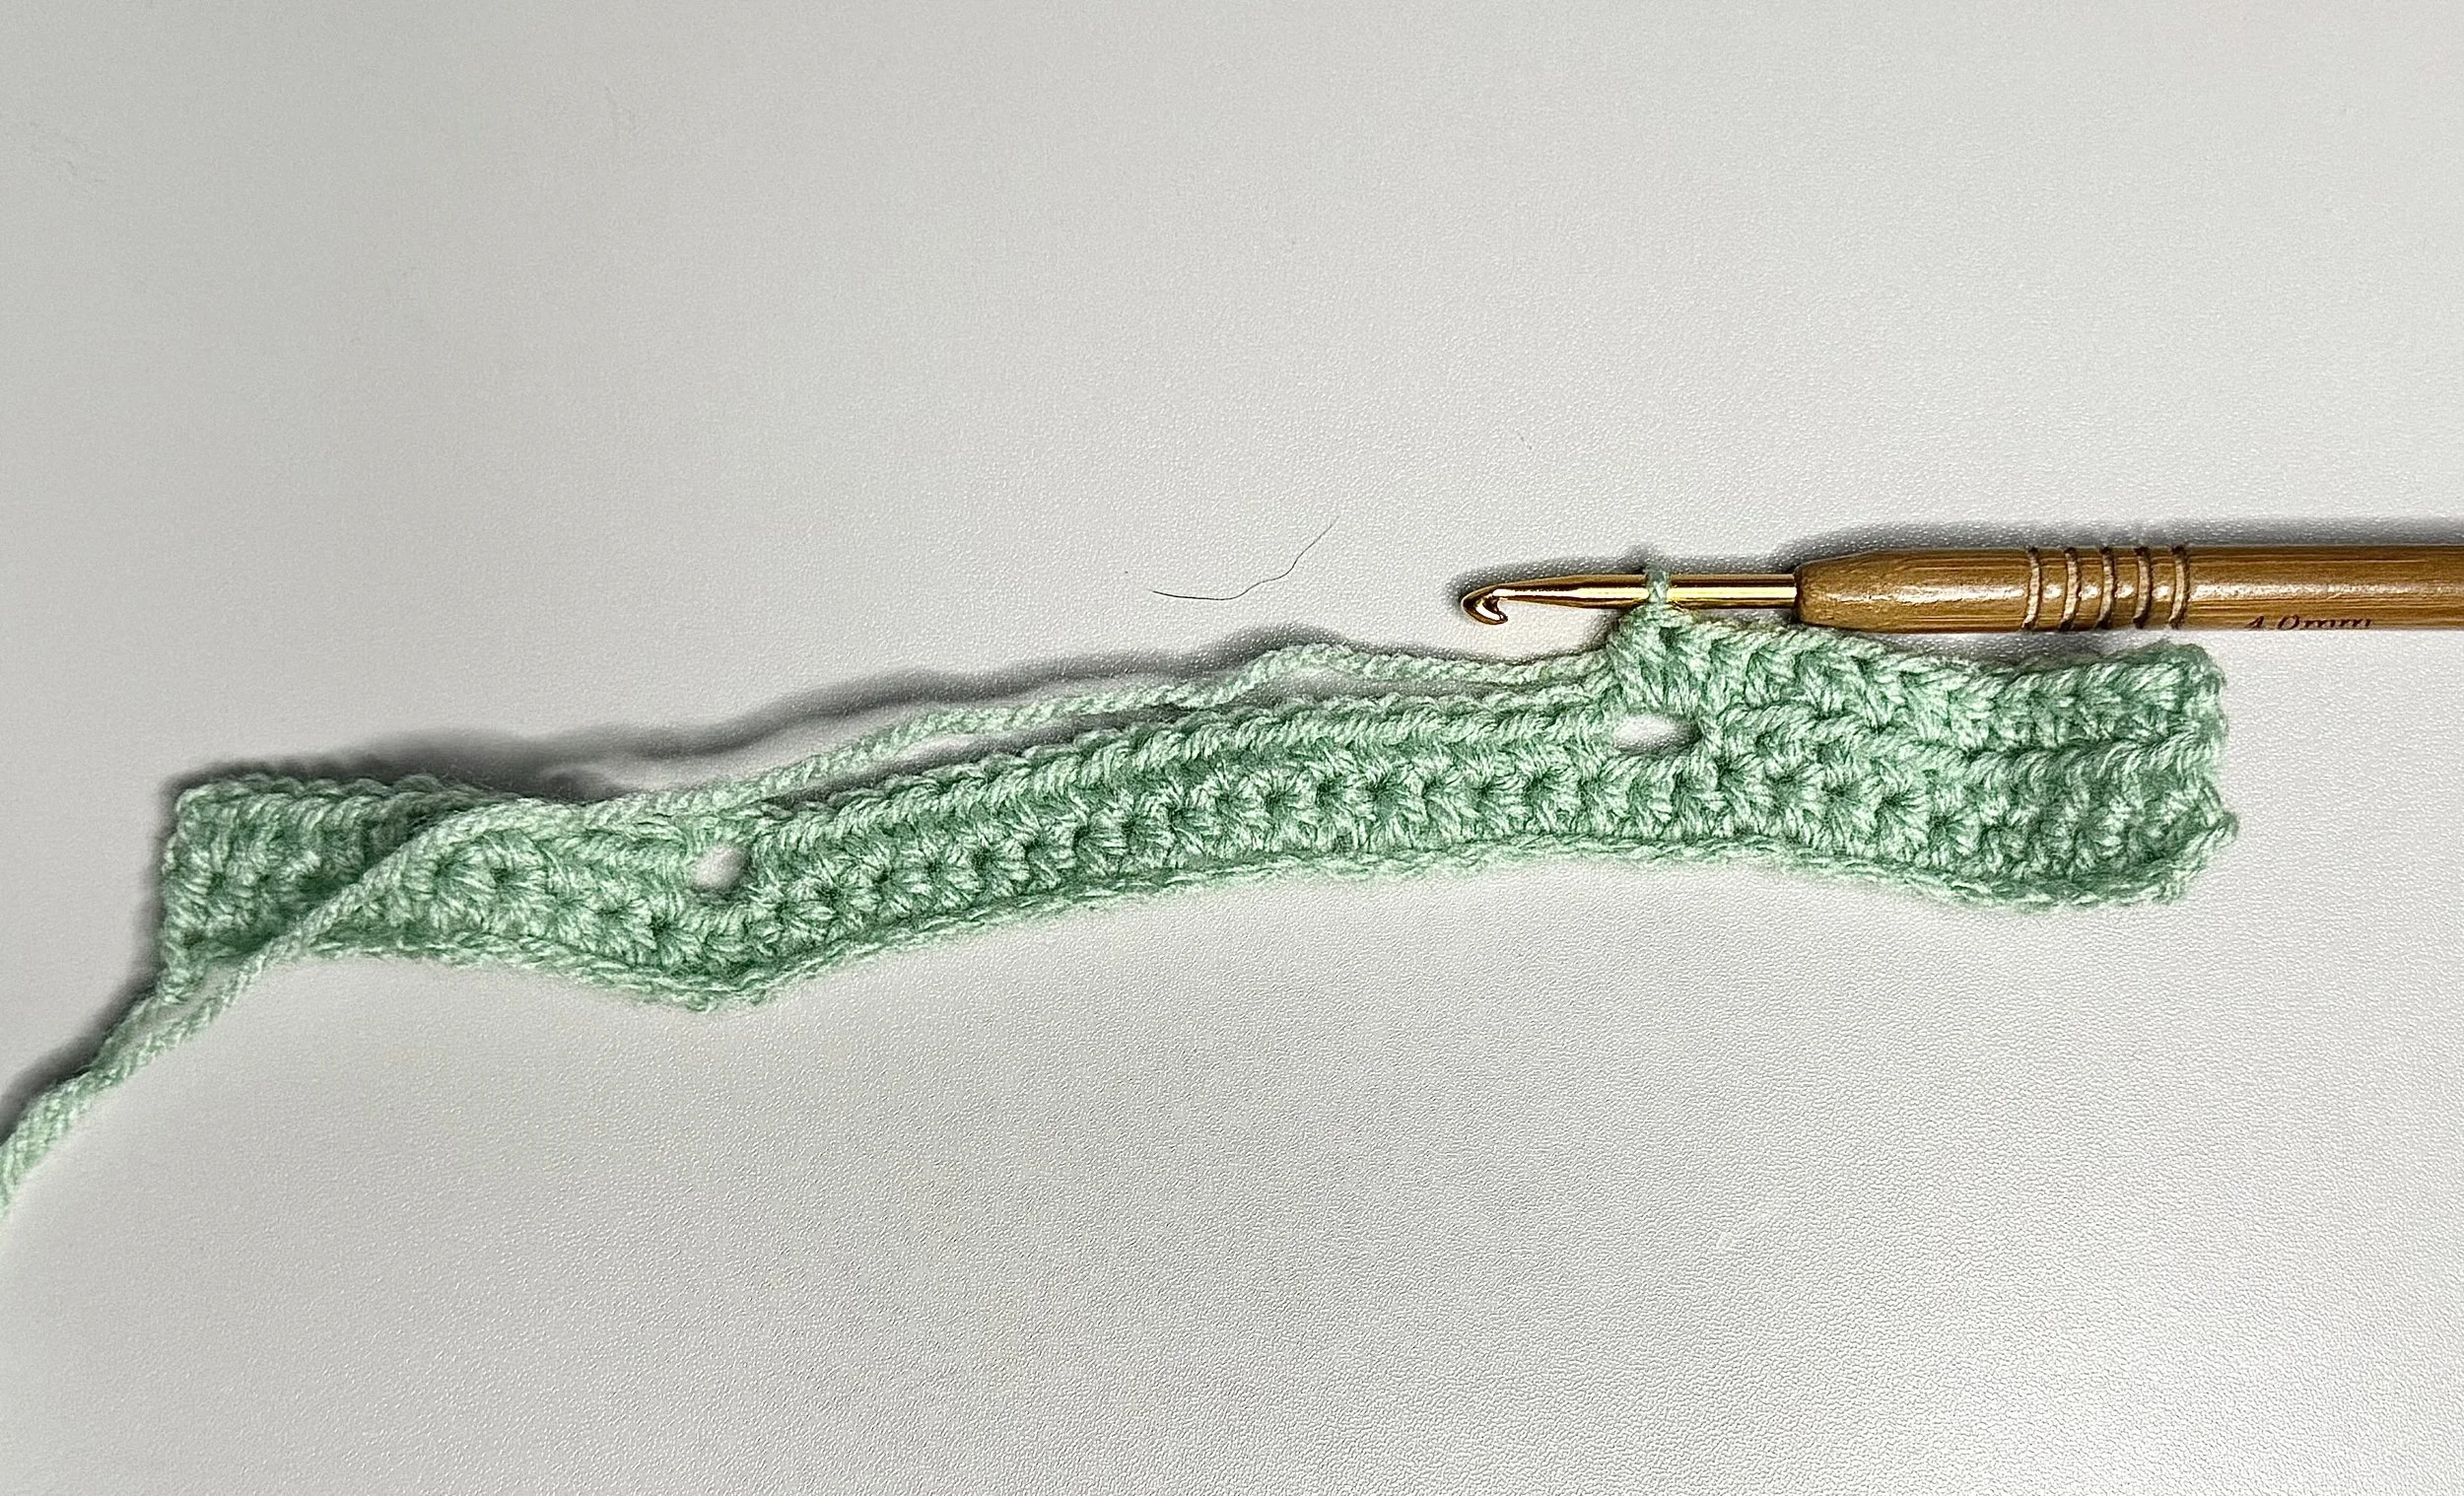
This will be your first button hole
R46: ch 2, turn your work, htr 40 (40st)
Slip stitch and leave a long tail for sewing
Fold your work in half, using a darning needle, sew together the two sides, leaving 5 rows from the edge un-sewn to cover the edge of your book when buttoned up.
Let’s add the buttons!
Attach the buttons on the 12 stitch in on each end (count 12 from the right and 12 from the left) the should line up with the chain spaces we created in the 44th row.
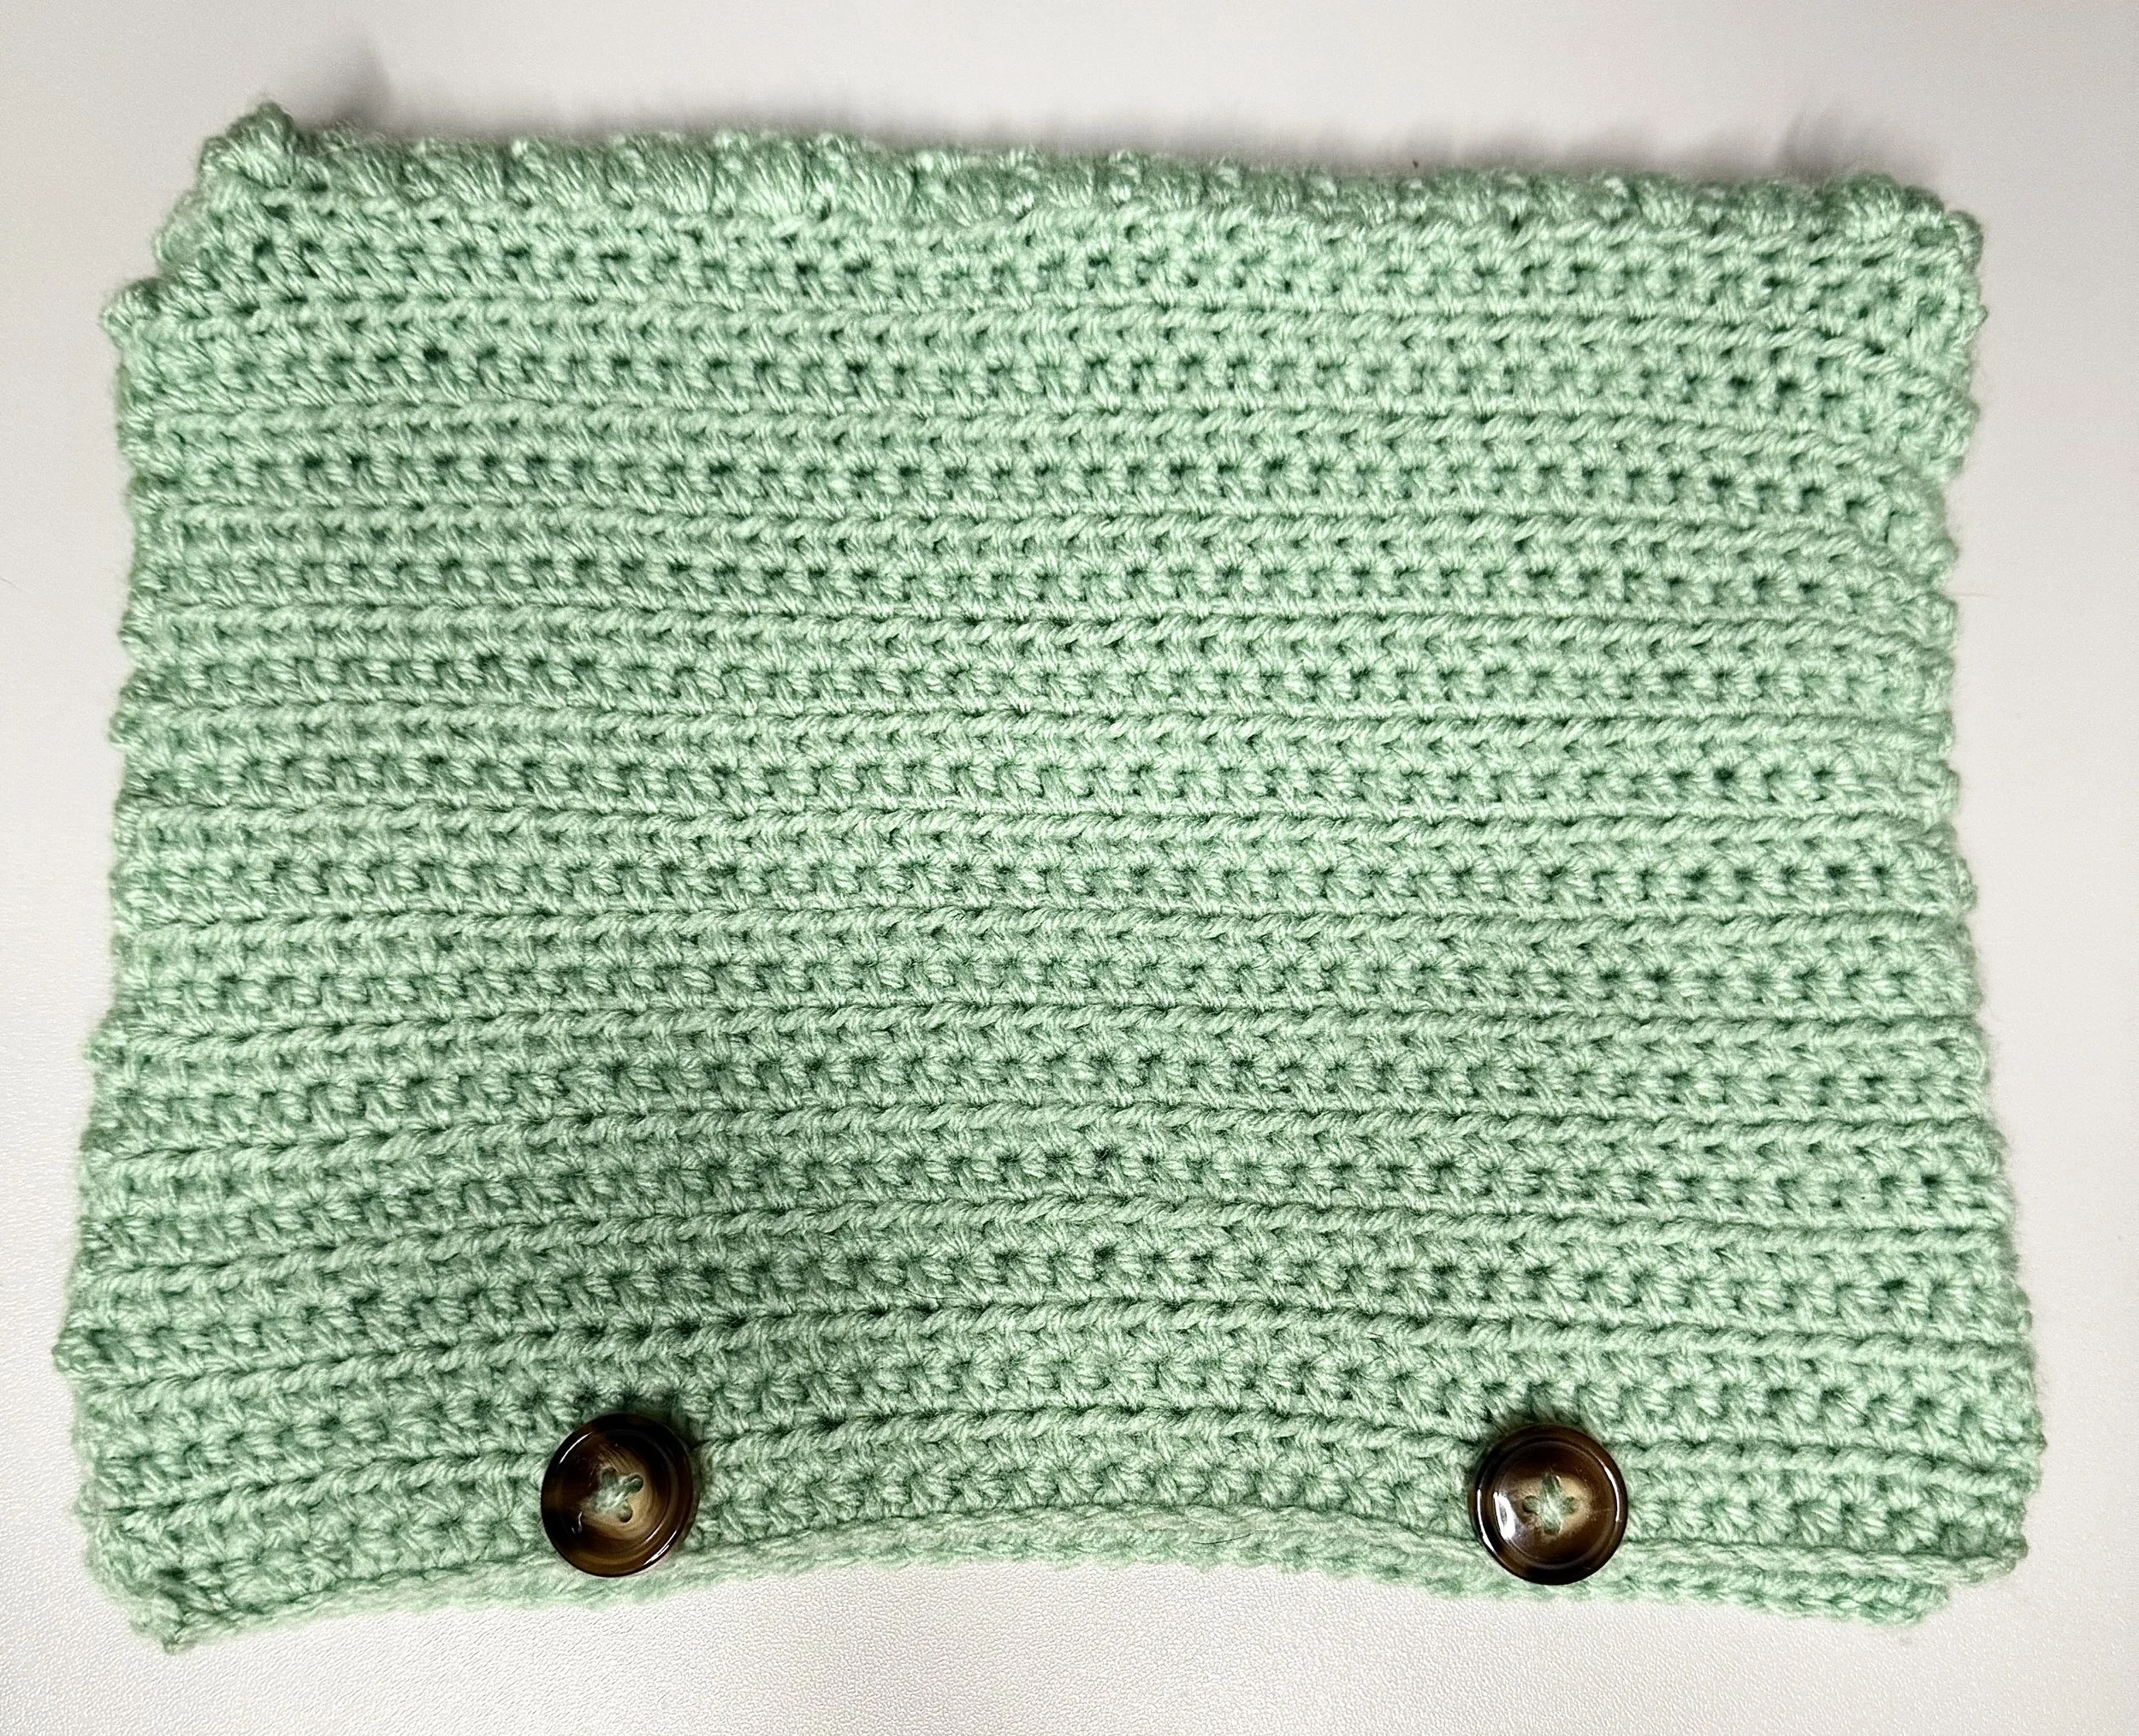
Weave in your ends, and voila!